Install .NET 10 by Alex Hedley
from Computer Learning Zone News https://599cd.com/3782
Saturday, December 20, 2025
Thursday, December 18, 2025
App Settings 2
How To Create Configurable System Settings GetSetting And PutSetting In Microsoft Access, Part 2
from Computer Learning Zone News https://599cd.com/AppSettings2
from Computer Learning Zone News https://599cd.com/AppSettings2
Wednesday, December 17, 2025
App Settings
How To Create Configurable System Settings Using GetSetting And PutSetting In Microsoft Access
from Computer Learning Zone News https://599cd.com/AppSettings
from Computer Learning Zone News https://599cd.com/AppSettings
Tuesday, December 16, 2025
Happy Holidays Means Everyone
I got another email today telling me I'm being "woke" because I say "Happy Holidays" instead of "Merry Christmas." I was scolded, as if this were a serious moral failing that needed correction. This happens every year or two, and every time it catches me slightly off guard, mostly because it feels like we are having the same argument on an endless loop, as if nothing new has been learned since the mid-2000s when Bill O'Reilly launched his whole "War on Christmas" crusade on Fox News.
I grew up celebrating Christmas. I loved it. Family, food, decorations, staying up too late, getting up too early, all of it. When my kids were little, we did the whole thing too. Santa, presents, the works. Even now, my wife and I still decorate the house, put up lights, and enjoy the general vibe of the season. None of that disappeared from my life because I sometimes say "Happy Holidays." This is not an either-or situation, no matter how hard some people want it to be.
The reason I use broader language is simple. It's not just Christmas. This time of year includes Hanukkah, Kwanzaa, Festivus, Yule, the winter solstice, Bodhi Day, and a long list of regional and cultural celebrations around the world. Some are religious, some are cultural, some are historical, and some are just humans acknowledging that the days are getting longer again and maybe that is worth celebrating. Saying "Happy Holidays" is not erasing Christmas. It's simply acknowledging reality.
What makes this especially strange is the insistence that Christmas is some kind of fragile, purely religious observance that needs defending. Modern Christmas is largely secular at this point. It is celebrated by people of many faiths and by people with none. It's wrapped in music, movies, decorations, food, and nostalgia far more than theology. I know plenty of people who do not believe in a god at all who still love Christmas because it's about family, generosity, and shared traditions. If that threatens anyone's faith, then their faith might be worth examining.
Historically, Christmas itself was never as original as some like to imagine. Early Christianity borrowed heavily from existing pagan festivals when it spread through the Roman Empire. Saturnalia, solstice celebrations, evergreen decorations, feasting, gift giving, all of that predates Christianity. Even the Christmas tree tradition has roots that would make some Bible literalists uncomfortable. This is not an attack. It's just history. Traditions evolve. They always have.
And if you are one of the people who gets genuinely upset because I say "Happy Holidays," let me save us both some time. I'm not doing it to insult you, erase your traditions, or score imaginary points with anyone. I am doing it because it reflects how I actually see the world, which includes people who do not all celebrate the same things the same way. I am not going to change who I am, or how I speak, because someone chooses to take offense at inclusivity. You are free to say "Merry Christmas" as loudly and joyfully as you like.
If someone says "Merry Christmas" to me, I say "Merry Christmas" right back. That has never been a problem for me. I am not trying to correct anyone's language. I am not trying to take anything away from anyone. Professionally, I choose language that welcomes the widest possible group of people. If that is now considered controversial, that says more about the culture war than it does about me.
So yes, I will continue to say "Happy Holidays" in my sales, my videos, and my writing. Not because I dislike Christmas, but because I like people. All of them. And if being inclusive and acknowledging reality gets labeled as "woke," then I guess I'll wear that badge proudly.
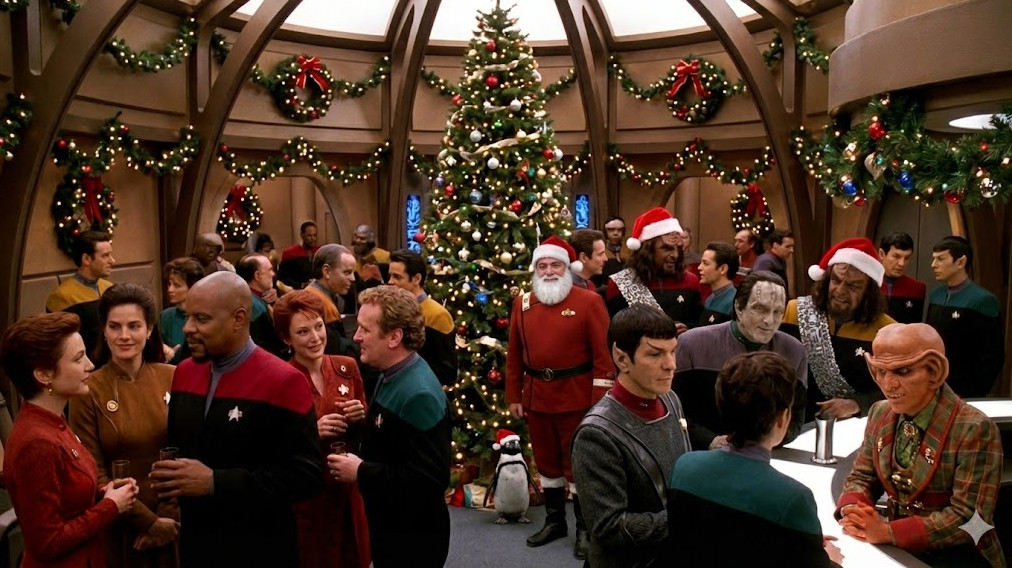
I genuinely look forward to taking delight in the differences between cultures around the world. Different foods, different languages, different customs, different ways of celebrating the same season. That outlook has always felt very Star Trek to me, especially the Vulcan philosophy of "Infinite diversity, infinite combinations." The goal was never to roam the galaxy as conquistadors, forcing every planet to become a slightly worse version of Earth. (1) It was to explore, to learn, and to appreciate the richness that comes from difference rather than fearing it. That's how I try to move through the world here on Earth too.
So when I say "Happy Holidays," I mean it exactly as intended. For everybody.
LLAP
RR
(1) Well, unless you're in the Mirror universe. But that's a whole different article.
Monday, December 15, 2025
Security Warning
Microsoft Access Security Warning Opening Images from Google Drive or OneDrive with FollowHyperlink
from Computer Learning Zone News https://599cd.com/SecurityWarning
from Computer Learning Zone News https://599cd.com/SecurityWarning
Saturday, December 13, 2025
dotnet CLI Overview
dotnet CLI Overview by Alex Hedley
from Computer Learning Zone News https://599cd.com/3781
from Computer Learning Zone News https://599cd.com/3781
Friday, December 12, 2025
Quick Queries #70
Why AI is Becoming The Junior Developer You Never Knew You Needed in Microsoft Access. QQ #69
from Computer Learning Zone News https://599cd.com/3803
from Computer Learning Zone News https://599cd.com/3803
Subscribe to:
Comments (Atom)