When someone opens your Access database and immediately sees a giant list of tables, queries, forms, and reports, they may not know where to start. Worse yet, they may start opening things they should probably leave alone. A Navigation Form gives your database a proper front door: one clean screen where users can choose the task they need and get to work.
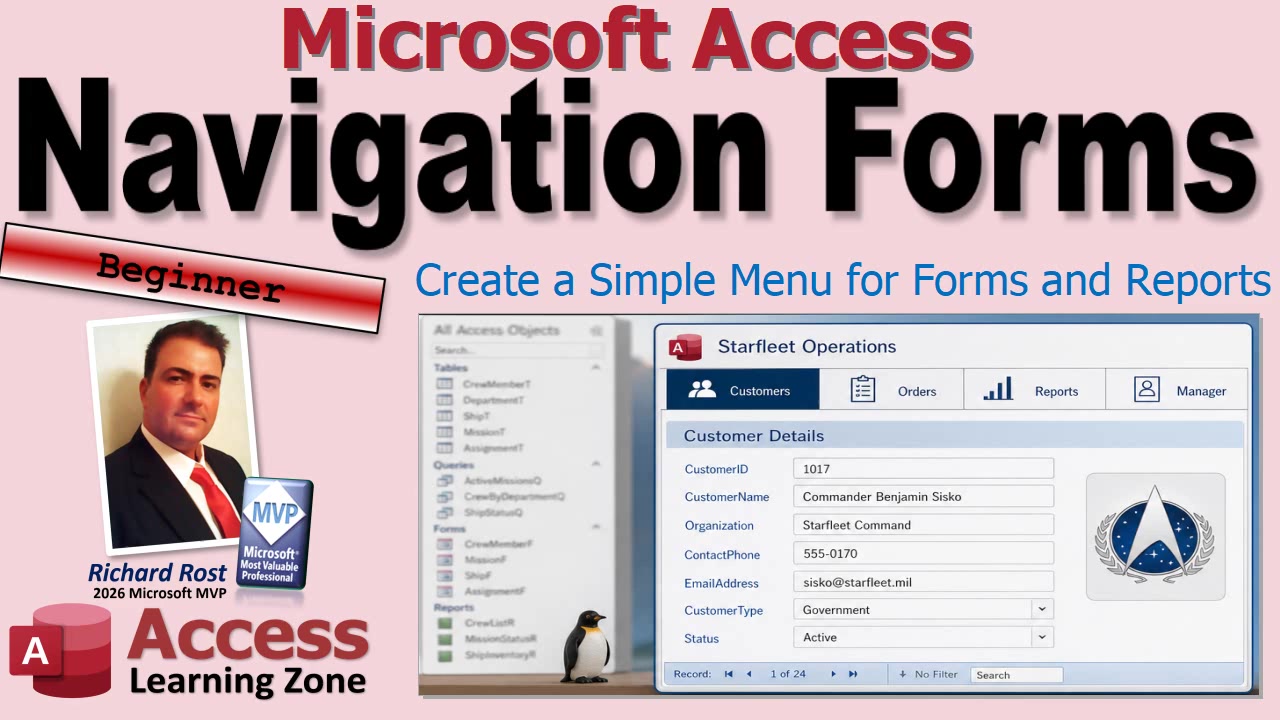
Microsoft Access Navigation Forms are one of the quickest ways to build a simple menu system without writing VBA code. They are built into Access, mostly drag and drop, and they work well for small databases or beginner projects where you want to make the database feel more like an application and less like a filing cabinet full of mysterious parts.
A Navigation Form is essentially a container form with a navigation control and a large display area. The navigation control provides tabs or menu items, and when the user clicks one, Access displays the selected form or report inside the main area of the Navigation Form.
Think of it like the table of contents in a book. Your users do not need to know where every chapter is stored or how the book was assembled. They just choose Customers, Orders, Reports, or whatever makes sense for their job, and Access takes them there.
To create one, go to the Create tab in Access. In the Forms section, click Navigation. Access will give you several different layout choices, including horizontal tabs, vertical tabs on the left or right, and two-level navigation layouts.
If you only have a few choices with short names, horizontal tabs across the top can work nicely. If you have longer labels or a larger number of items, vertical tabs may be easier to read. There is no universal best choice. Pick the layout that helps your users find what they need without making them stop and think too hard. If your menu starts looking like a packet of Chiclets, it is probably time to organize it a little better.
One of the more practical layouts is Vertical Tabs, Left. This gives you a menu area down the left side and a large workspace on the right. It is a familiar arrangement for most users, especially if you have forms with names that are longer than a couple of words.
Once the Navigation Form is open in Layout View, adding forms and reports is easy. Find the form or report you want in the Navigation Pane, then click and drag it onto the area labeled Add New in the navigation control. Access creates a navigation item for it automatically.
For example, you might drag in a Customer Form, a Contact Form, an Order Form, and a few reports. Each one becomes a selectable navigation item. Click Customer Form, and the customer form appears in the main display area. Click Contact Form, and that form replaces it.
You can also rearrange the navigation items by dragging them into a different order. This is a good time to think like your users instead of like the person who built the database. Put the things they use every day near the top. Put administrative tools, maintenance forms, and less common reports farther down the menu.
Do not be afraid to rename navigation items so they make sense to normal human beings. Your underlying object might be named something like frmCustomerList, which is fine for you, but your staff probably does not need to see that. A friendly label such as Customers or Customer List is much better.
If your database is getting larger, Access also offers two-level Navigation Forms. These let you create broad categories across the top and place related forms or reports underneath each category.
For instance, you could create a Customer Stuff category with Customer Form, Contact Form, Customer Letters, and Customer History beneath it. A separate Manager Stuff category could contain reports, order history, employee tools, or administrative forms. This can prevent a large database from turning into one long, cluttered list of tabs.
Be a little careful when dragging objects into a two-level layout. You need to drop the form or report in the correct lower navigation area for the category you want. It is easy to drop it in the wrong place and wonder why it ended up somewhere strange. Access is helpful, but it cannot read your mind. At least not yet.
After you save the Navigation Form, you can open it like any other form. Better yet, you can make it your startup form so it opens automatically when the database starts. That way, users begin with the menu instead of being dropped into the Navigation Pane with all of your tables, queries, forms, reports, and other plumbing exposed.
Keep one important point in mind: a Navigation Form is not security. Hiding the Navigation Pane and giving users a pretty menu does not stop a determined user from getting into your database objects if they have the appropriate permissions and know what they are doing. It is user-interface cleanup, not a security system. Hiding the kitchen door does not make the restaurant secure.
Navigation Forms are excellent for getting a simple interface up and running quickly. They are particularly good for beginners, small business databases, and projects where you want a clear starting point without investing time in VBA or custom menu design.
However, they do have limitations. The forms displayed in a Navigation Form are hosted inside the navigation control. From an advanced development standpoint, that means they behave somewhat like subforms. If you later start writing VBA code that refers to controls on those forms, the reference paths can become more complicated than they would be with ordinary standalone forms.
That is one reason I often prefer custom menu forms for larger or more advanced databases. A blank form with command buttons gives you much more control over the appearance, behavior, automation, and form interactions in your application. But that does not mean a custom menu is automatically better for every situation. Sometimes the simple built-in tool is exactly the right tool.
If you are building your first database interface, start with a Navigation Form. Get your forms and reports organized, make the labels friendly, and give your users one obvious place to begin. You can always replace it with a custom menu later if the database grows into something more complicated.
Watch the embedded video for a full walkthrough of creating Navigation Forms, adding objects with drag and drop, rearranging navigation items, and setting up a two-level menu layout.
Live long and prosper,
RR

No comments:
Post a Comment