Ever open an object in Microsoft Access and suddenly wonder where your familiar screen went? One minute you are entering customer information, and the next you are looking at property sheets, tiny boxes, rulers, and a pile of settings. That is not Access randomly changing your database. You have simply switched to a different view.
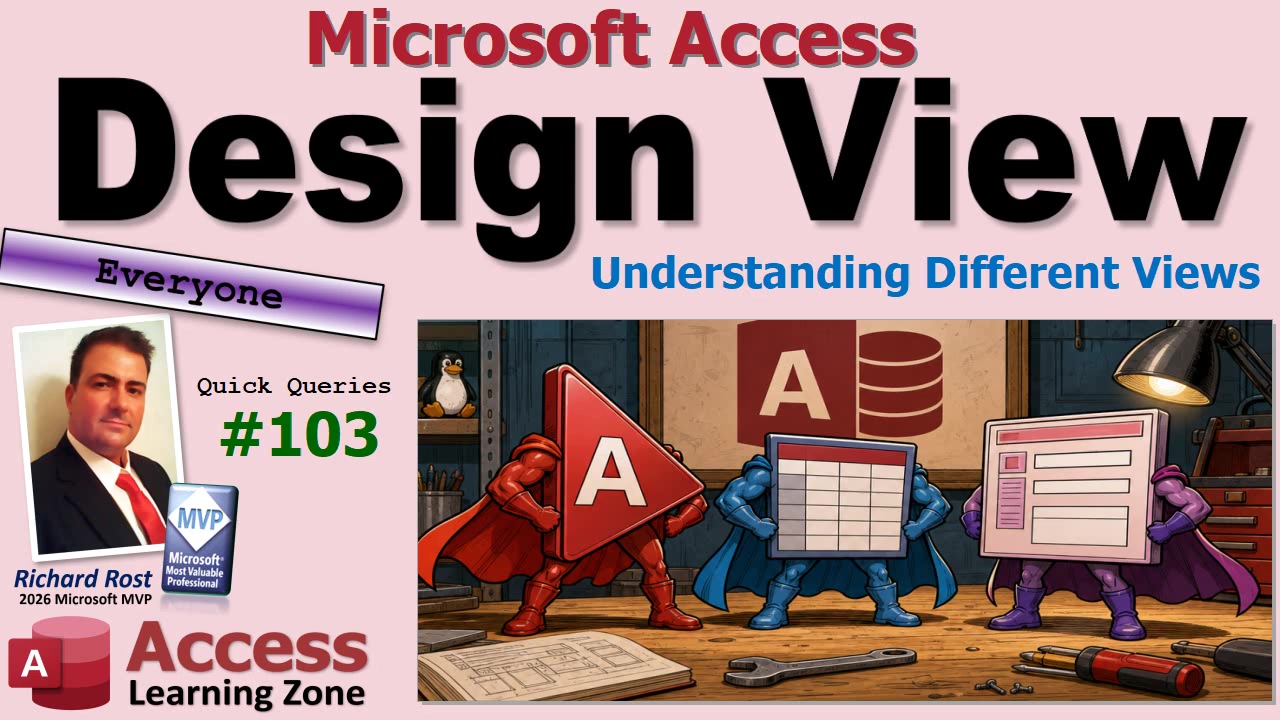
Understanding views is one of the first things that makes Access feel a lot less mysterious. The simple question to ask yourself is this: am I building this database object, or am I using it? The answer will usually tell you exactly which view you need.
A view is just a different way of looking at or working with the same object. Switching views does not create a second copy of your table, form, query, or report. It simply changes the tools Access puts in front of you.
Think of it like working on a car. Sometimes you are driving it. Sometimes you have the hood up and are changing the engine. It is still the same car. Access objects work the same way. Some views are for the person designing the database, and other views are for the person entering data, reading results, or printing reports.
Design View is the blueprint view. This is where you go when you need to change how an object is built.
For a table, Design View is where you create and configure fields such as CustomerID, FirstName, LastName, EmailAddress, and so on. You select the data type for each field, choose a primary key, set field sizes, define validation rules, and generally tell Access what kind of data belongs in that table. You are building the filing cabinet before you start stuffing papers into it.
Once the table structure is in place, you normally switch to Datasheet View to see the actual records. Datasheet View looks like a spreadsheet, with fields displayed as columns and records displayed as rows. This is where you can enter data directly, edit existing records, sort records, and apply filters.
Entering data directly into a table is perfectly fine for a small personal database, especially while you are learning. However, if other people will be using your database, it is usually better to keep them out of tables. Let them work with forms instead. Tables are where the data lives. Forms are where you make that data usable by actual human beings.
Queries have a similar split between building and using. In Query Design View, you build the query by adding tables or other queries, selecting fields, setting sort orders, and entering criteria. The grid at the bottom of the screen is often called the Query By Example grid, or QBE grid. Fancy name, simple idea. It is a visual way to tell Access what question you want answered.
For example, you might create a query that shows customers in Florida, sorted by last name. You build that request in Query Design View, then switch to Datasheet View, or click the red Run button, to see the results. Datasheet View is the answer Access found for your question.
Queries also have an SQL View. SQL stands for Structured Query Language, which is the language databases use to request and manipulate data. When you build a query using the graphical QBE grid, Access writes SQL behind the scenes for you. SQL View lets you see and edit that SQL directly.
If you are new to Access, do not panic when SQL View appears. You do not need to know SQL in order to build useful queries. The graphical query designer is excellent, and it is how many people learn query logic before they ever type SQL themselves. If you accidentally end up in SQL View and it looks like alien handwriting, just switch back to Design View.
Forms are where most database users should spend most of their time. A form gives you a cleaner and friendlier way to work with data than staring at a giant grid of rows and columns. Instead of seeing every customer at once, you can have a nice customer form with labeled boxes for name, address, phone number, email address, and whatever else you need.
Form View is the normal working view for a form. This is where users browse records, add new records, edit information, click buttons, and use the database. A form can display one record at a time, show many records in a continuous list, or even include a subform with related data. For example, an order form might show the customer and order information at the top, with the order line items in a subform below it.
Form Design View is where you build that experience. You add text boxes, labels, buttons, combo boxes, images, and other controls. You move things around, set their properties, decide what data each control displays, and configure what happens when someone clicks a button. This is where the boxes get moved around because, well, that is exactly what Design View is for.
Forms can also have a Layout View, which lets you make certain visual changes while live data is still visible. Some people like it. Personally, I usually prefer Design View because it gives me more control and more predictable results. Layout View can be useful for quick sizing and anchoring adjustments, but you can build the vast majority of forms using just Form View and Design View.
Reports are similar to forms in that they have Design View and Layout View, but reports have a different job. Forms are primarily for working with data on screen. Reports are for presenting data, usually on paper, in a PDF, in an email attachment, or in some other format you plan to share.
Think invoices, mailing labels, sales summaries, customer lists, and other documents where page layout matters. In Report Design View, you arrange headings, logos, totals, labels, and the fields that will display your data. You decide where the page header goes, how groups are displayed, and what appears at the bottom of each page.
Reports have a Report View that lets you look at the report on screen, but it is not always the best indication of how the finished report will print. For reports, Print Preview is usually the view that matters most. It shows the report as actual pages, including page breaks, margins, headers, and footers. My usual rule is simple: build the report in Design View, then inspect it in Print Preview. If it looks right there, it will probably look right when printed or exported to PDF.
Macros and VBA modules have their own working environments too. Macros are built in Macro Design View, while VBA code opens in the Visual Basic Editor. Those are more advanced tools for automation and custom programming, but the same basic idea still applies: you use a different workspace depending on whether you are building behavior or using the finished database.
One important thing to remember is that not every object has every possible view. Tables do not have Form View because a table is not a form. Forms do not have SQL View because forms are not queries. If a tutorial tells you to switch to a particular view and you do not see it available, first make sure you have the correct type of object open.
You can usually change views with the View button in the upper-left corner of the ribbon. You can also right-click an object in the Navigation Pane before opening it, or right-click the object's title bar while it is open. That last method is one I use constantly because it is quick and keeps my hands where I want them.
When you leave Design View after making changes, Access may ask whether you want to save the design. Read that message carefully. Saving a design change saves the structure of the table, query, form, or report. It does not necessarily mean you are saving data records. You are saving the blueprint, not the contents of the filing cabinet.
You do not need to memorize every view Access offers right away. Just remember the basic pattern. Use Design View when you are building or changing structure. Use Datasheet View to inspect table and query records. Use Form View for normal data entry and day-to-day use. Use Print Preview to check reports before printing or exporting them.
Once that clicks, Access stops feeling like it is randomly throwing you into different screens. You start choosing the screen that gives you the tools you need for the job at hand. For a full walkthrough with on-screen examples of each view, watch the embedded video.
Live long and prosper,
RR

No comments:
Post a Comment