Once you have your inventory tables set up, the next job is making sure everything stays connected properly. An item should belong to a subdivision, that subdivision should belong to an area, and that area should belong to a location. Otherwise, before long, you will have a database full of mystery items that apparently live nowhere. That may be fine for socks in the dryer, but it is not great for inventory management.
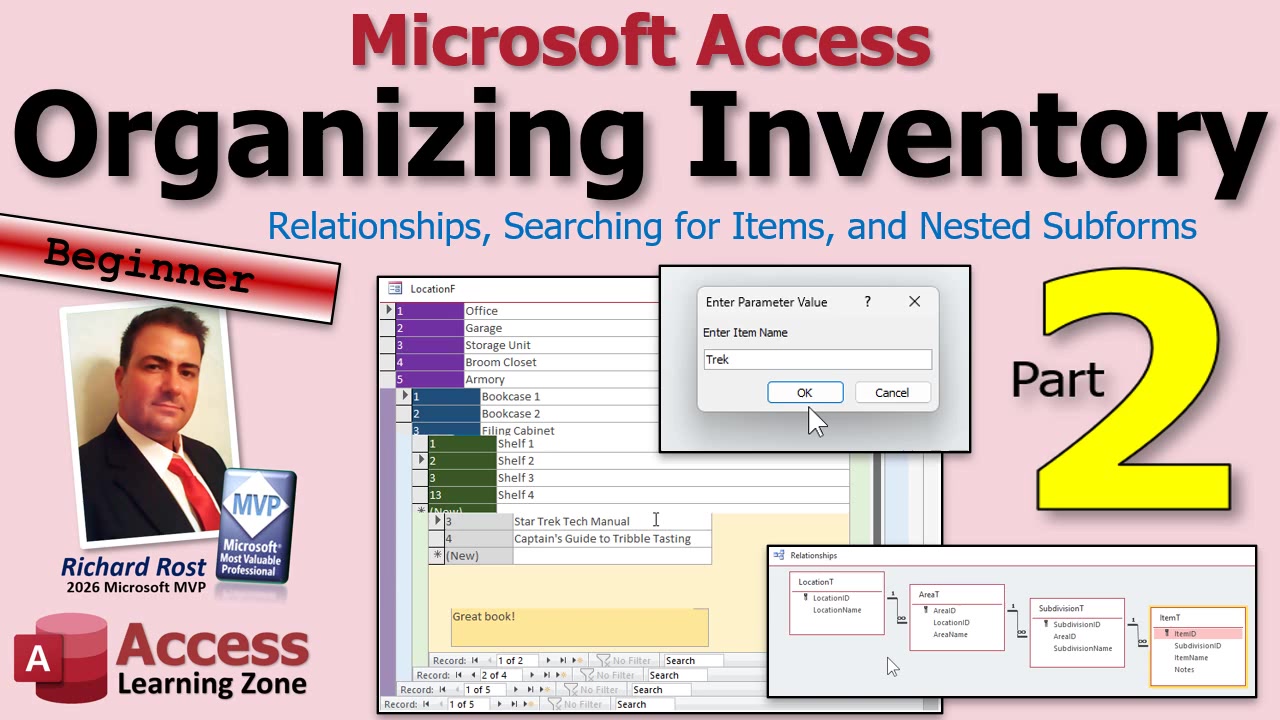
The goal is to turn a collection of tables into a useful inventory system. That means enforcing the hierarchy with relationships, creating an easy item search, and building a convenient data-entry form that lets you browse locations, areas, subdivisions, and items all in one place.
The first thing to do is create the relationships between the tables. In this example, the structure is simple: one Location can have many Areas, one Area can have many Subdivisions, and one Subdivision can have many Items.
In the Relationships window, connect each parent table's primary key to the matching foreign key in the child table. LocationID connects Location to Area. AreaID connects Area to Subdivision. SubdivisionID connects Subdivision to Item.
When Access asks whether you want to enforce referential integrity, the answer is generally yes. Referential integrity prevents orphan records. You cannot create an area that belongs to a nonexistent location, and you cannot add an item to a subdivision that does not exist. It keeps the hierarchy honest.
Without referential integrity, somebody could type a random SubdivisionID into an item record. Access would accept it, and you would eventually be left asking, "Where exactly is this item stored?" The database would have no answer because the item would point to a place that is not actually in your system.
You will also see options for cascade updates and cascade deletes. Cascade updates are rarely a concern when you use AutoNumbers for your primary keys, because those values should not normally change anyway. Cascade deletes are the dangerous one.
If cascade deletes are enabled and you delete a location, Access can delete all of the related areas, subdivisions, and items beneath it. That might sound convenient until someone deletes the wrong location. Suddenly the contents of an entire storage unit have vanished from your database. Poof. I generally recommend leaving cascade deletes off unless you have a very specific reason to use them and fully understand the consequences.
With the relationships in place, the next useful feature is an inventory search query. You want to be able to type part of an item's name, such as "cube" or "optim," and immediately see where it is stored.
Create a query that includes the four tables: Location, Area, Subdivision, and Item. Since the relationships are already defined, Access should display the joins automatically. Bring down the fields you need to identify the complete path: the location name, area name, subdivision name, and item name. Including the ID fields can be helpful too, especially while you are building and troubleshooting the database.
There is no need to bring every field from every table into the query. That just gives you duplicate foreign keys and a lot of visual clutter. This query is meant to answer one question: where is this thing?
To make it searchable, place a parameter criterion under the Item Name field. A plain parameter prompt requires an exact match, which is usually annoying. If you search for "Optimus" but the actual record says "Optimus Prime," you would get nothing back.
Instead, use a wildcard search with the Like operator and asterisks around the parameter value. In other words, the criterion should search for anything containing whatever text the user enters. Type "mop" and find your mop. Type "cube" and find the Rubik's Cube. Type part of a name when you cannot remember whether you called something "Phaser Type A," "Type A Phaser," or "That Star Trek Thing."
Save that query with a meaningful name such as Inventory Search Query. It becomes a quick lookup tool you can run any time somebody asks where an item is located. Access will prompt for the item name, and the results will show the entire storage path from the top-level location down to the item.
Of course, finding items is only half the battle. You also need an easy way to enter and browse the inventory. This is where nested subforms are especially handy.
The basic idea is to create a continuous form for each table. Start with an Item form, then place that Item form inside a Subdivision form. Place the Subdivision form inside an Area form. Finally, place the Area form inside a Location form. The result is a set of forms nested inside each other like little Russian nesting dolls.
Each continuous form only needs to show the fields relevant to that level. The Location form might show LocationID and LocationName. The Area form might show AreaID and AreaName. The Subdivision form might show SubdivisionID and SubdivisionName. The Item form can show ItemID, ItemName, and perhaps Notes.
Do not worry about displaying every foreign key on every form. The parent-child link between the forms handles that for you. When the Item form is placed inside the Subdivision form and linked by SubdivisionID, Access automatically shows only the items belonging to the current subdivision. That is the whole point.
When you add each subform control, make sure its Link Master Fields and Link Child Fields properties are set correctly. The Location form links to the Area form through LocationID. The Area form links to the Subdivision form through AreaID. The Subdivision form links to the Item form through SubdivisionID.
If those links are correct, clicking a location shows its areas. Selecting an area reveals its subdivisions. Selecting a subdivision reveals the items stored there. You can also add new records right in the appropriate level of the hierarchy.
One odd little Access quirk is that when you drop a subform onto a continuous form, Access may complain that a form containing a subform cannot use Continuous Forms view. This is one of those cases where Access is being a bit dramatic. After adding the subform, go back into the parent form's properties and set its Default View back to Continuous Forms. Yes, it works. Yes, Access could handle this more gracefully. No, it does not.
Because multiple continuous forms are nested together, form sizing takes a little trial and error. You have to decide how many child records you want visible at one time. A subdivision with five items needs more vertical space than one with a single item. Dynamic resizing is possible, but that gets into programming. For a basic system, pick reasonable sizes and keep the layout usable.
Color-coding the levels can also help. Give locations one color, areas another, subdivisions another, and items another. This is not required, of course, but when you are looking at several levels of nested forms, a little visual separation makes it much easier to see where one group ends and the next begins.
The finished form gives you a practical inventory browser and data-entry screen without writing any VBA code. You can open a location, see its areas, drill into a storage cabinet or shelf, and add items exactly where they belong. Then, when somebody asks where the item went, run the search query and get the answer immediately.
This is a solid foundation for a simple home, office, workshop, collection, or storage inventory database. From here, you can add dedicated inventory-entry forms, cascading combo boxes, barcode tracking, asset assignments, transaction history, and plenty more. But even this basic setup is already far more useful than a spreadsheet full of vague notes saying "probably in garage somewhere."
Watch the embedded video for the full walkthrough, including the relationship setup, wildcard search query, and the construction of the nested subforms.
Live long and prosper,
RR

No comments:
Post a Comment