Okay, so you've got SQL Server installed and you've been happily building away - on the server itself. But in the real world, you need to connect from another machine on your network. That's where the fun (and, let's be honest, a little bit of chaos) begins. Most of you aren't going to work directly on the server; that thing's going to be stuffed in a corner doing its thing while you and your users connect from your workstations. Today we're tackling how to set up SQL Server for remote connection, what to check when it inevitably doesn't work, and how to troubleshoot so you're not pulling your hair out wondering why SQL Server is giving you the cold shoulder.
Let's dive right in. Most small offices these days are already used to the "split database" setup, using Microsoft Access or similar. If you've got file sharing set up, and you can browse shared folders between your server and your PC, you're halfway there. This is important - not because SQL Server needs file sharing to work, but because if your machines can see each other, it means your network permissions and authentication are in place. Think of sharing a folder as a basic "connectivity test" before you start with SQL Server itself.
By default, SQL Server Express is locked down big time for remote connections - right out of the box, it'll only allow local connections until you say otherwise. So let's walk through what needs to get flipped and poked to open up your server to the network.
First up, make sure SQL Server is actually running and that you can connect to it locally using something like SQL Server Management Studio (SSMS). Obvious, I know, but it's the #1 "duh!" moment that keeps people up at night.
Now, crack open the SQL Server Configuration Manager (search for "config" in Start if you don't know where it is). Pin it to your taskbar - you'll be using this a lot until you're through setup. In there, expand the SQL Server Network Configuration (ignore the 32-bit one!), then find the right instance (like "Protocols for SQLEXPRESS"). Look for TCP/IP. Bet you a donut it's disabled. Right-click and enable it. But - here's the kicker - the change doesn't take effect until you restart the SQL Server service. So, hop over to "SQL Server Services," right-click your server, and give it a restart.
Next, fire up the SQL Server Browser Service. This handy little background service helps workstations find your server by name over the network. It often defaults to "stopped" for security. Set its Start Mode to "Automatic" and start it up. Again, if you're in a high-security environment, you might want to leave this off, but for most folks, just enable the thing. Restart the SQL Server service again as needed so your changes stick.
After that, check your Windows Network Profile - make sure your server is on a Private network, not Public. Private means silly devices like your coworkers' laptops are allowed to see you. Public is for airports, coffee shops, and anyone paranoid about hackers. Set it right in your network settings or you'll be chasing your tail when connections fail for no apparent reason.
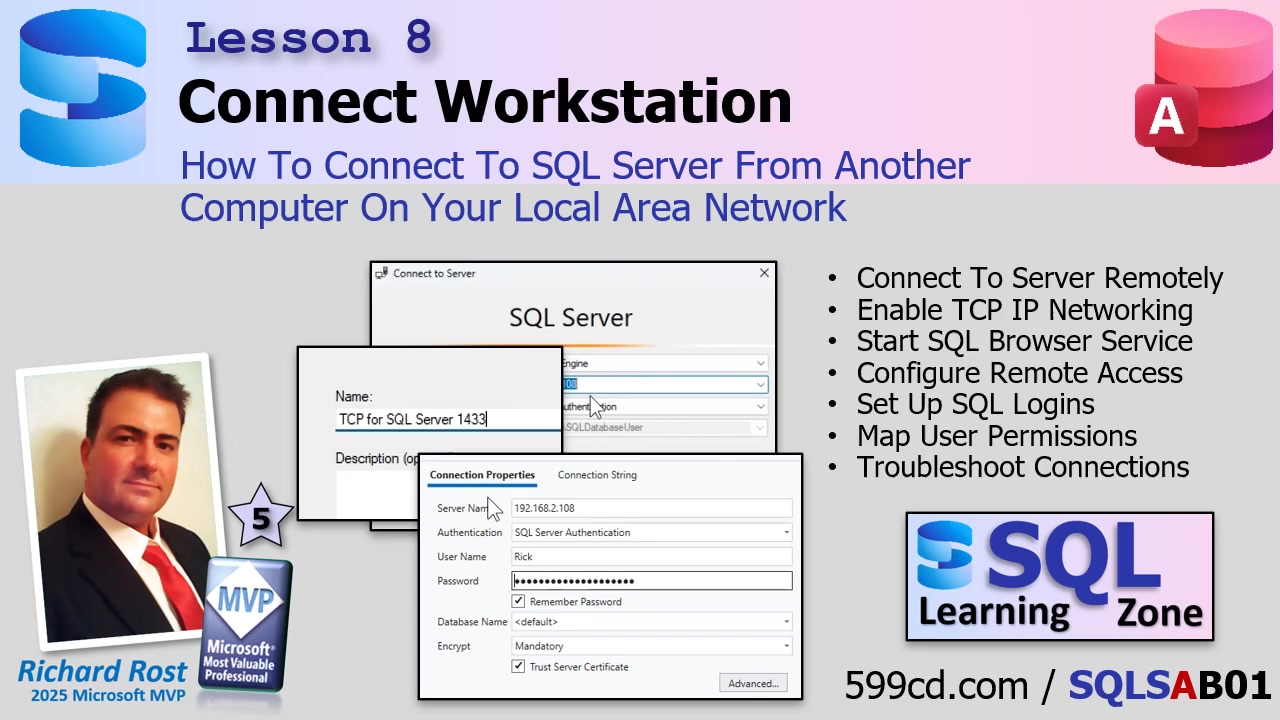
Now, authentication. We're enabling "Mixed Mode," which lets you use both Windows Authentication (where access is based on Windows user accounts) AND SQL Server Authentication (which uses usernames and passwords stored within SQL Server itself). Windows Authentication is perfect if your network is already humming with local user accounts that match between server and workstation. If you want to avoid potential headaches with mismatched logons or if you're connecting over the internet, SQL Authentication will likely be your friend. Head into SSMS, right-click your server, and under Properties > Security, flip the server authentication setting to "SQL Server and Windows Authentication mode." You'll need to restart the server again for this to take effect.
Creating logins is next. In SSMS, drill down under Security to Logins. Here you can add SQL Authenticated users (specify a username and password) - and choose what each one can do. Go to "User Mapping" and assign permissions by database. If a user needs full design access (like you), give 'em db_owner. If it's a standard user, just assign db_datareader and db_datawriter - they can interact with data but not wreck your carefully-crafted table designs. Repeat as needed for different users or permission levels.
At this point, you might be tempted to try connecting from your workstation. Sometimes, when browsing the network for available servers in SSMS, nothing shows up. Don't panic. That "browse" feature is notoriously unreliable (and seasoned SQL pros ignore it entirely). Instead, try connecting by directly entering your server's IP address. Not sure what it is? From your workstation, run a command prompt and type ping [server name] (e.g., ping Kirk). Or, go to the server, open a command prompt, and type ipconfig for the IPv4 address. Use that in your connection string.
If your connection just hangs, odds are the firewall is blocking you. By default, Windows Firewall says "no thank you" to incoming SQL Server connections on port 1433, which is the default. To change this, open Windows Defender Firewall with Advanced Security on the server. Add a new inbound rule to allow TCP traffic on port 1433. Be sure to make it active for your Domain and Private profiles - not Public. Give the rule a friendly name so you remember what it is later. Once you've done this, close the firewall window and try connecting again. If all is well, your connection should go through instantly.
Bonus tip: for smoother connections long-term, consider setting a static IP address on your SQL Server box. That way you won't have to chase it around the network every time it reboots and gets a new IP lease.
If you're doing Windows Authentication, make sure the accounts your users log in with exist on both the workstation and the server, with matching usernames and passwords (unless you're on a domain, in which case things are slightly less crazy). It's easiest to add the user on the server, set the permissions in SSMS, and then just log in to the workstation with the same account. If you're running a small network and folks log in with Microsoft accounts (the kind with an email), you might run into authentication snags - SQL Server isn't always thrilled to work with those on peer-to-peer networks. In that case, SQL Authentications might just save your sanity.
If you've followed all these steps in order - server running, TCP/IP enabled, Browser Service running, network profile set to Private, authentication modes set, users created and mapped, firewall port open - you should be in business to connect from your workstation. If not? Time to consult your IT wizard, or at least post in the forums so we can commiserate together. And if you're still stuck, there's always my file-sharing video or a future deep dive into Windows networking (let me know if that would save you from more headaches).
That's the rundown for getting SQL Server connected from another machine on your network. If you got it working, high five yourself! If not, review the steps, pay special attention to TCP/IP and firewall stuff, and don't be afraid to reach out for help. For the full walkthrough, just watch the video embedded above - sometimes seeing it on screen does wonders for troubleshooting.
Live long and prosper,
RR
No comments:
Post a Comment